I’ve been using the Dyspatch visual editor for a little over a year now…
Even still, a couple of the tips our Senior Product Designer, Ashley, shares in our latest video were new to me!
All of her tips and tricks have one thing in common: They’ll help you build emails with more efficiency and ease. So without further ado, check out this 10-minute tutorial to uncover some power features you may be underutilizing in the visual editor. (Or, skim Ashley’s written recap below.)
5 pro tips to build emails faster
1. Pinned blocks
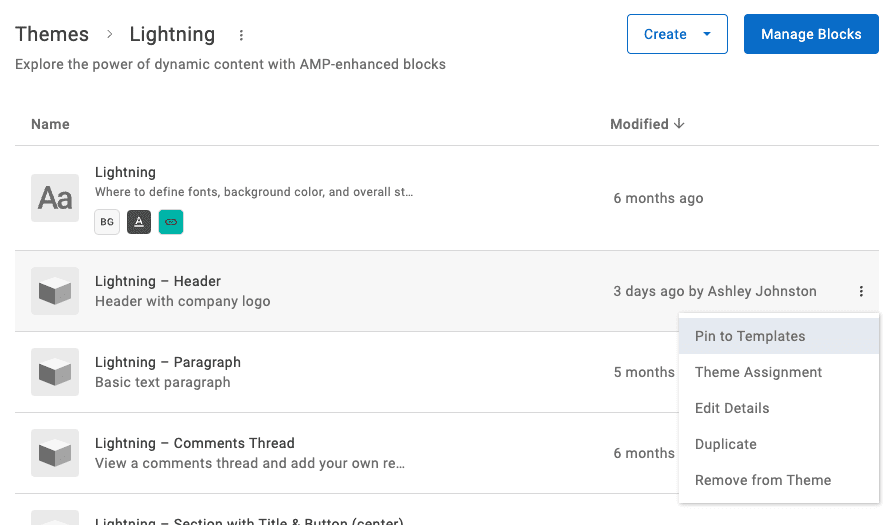
While this feature lives outside of the visual editor, it’s specifically built for speeding up your email template building workflow. Within the theme details page, where the blocks are listed, you can select an option in any block row to “Pin to Templates”. This will add that block to every new template created.
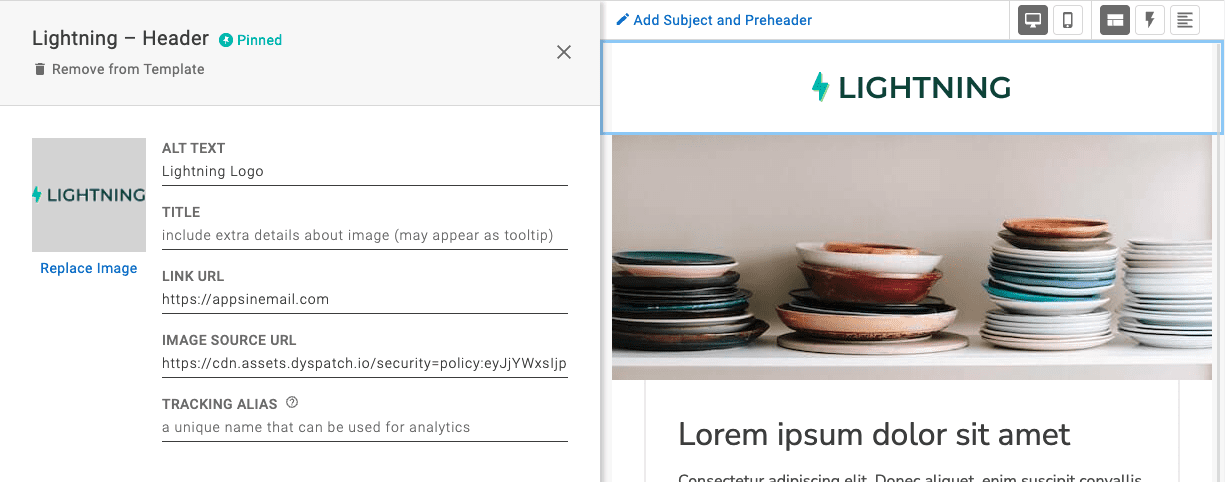
Use pinned blocks for common modules that exist across all templates, like your company header and footer or specific legal copy that must always be present. Only users who have Org Admin privileges can remove that specific block from a template — everyone else won’t be able to remove it, but will still be able to reorder pinned blocks within a template. (This is great for regular CTAs that may change position within newsletters.)
2. Quick search
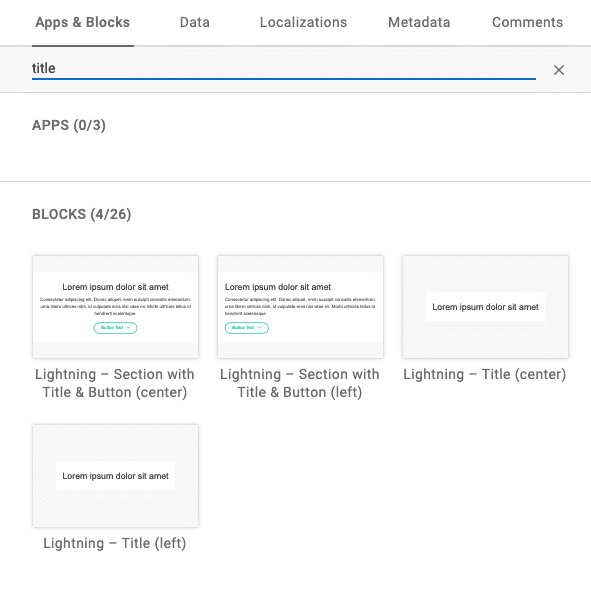
Spend less time scrolling through the block list for your frequently used blocks. Instead, use the built-in quick search to find the blocks you’re looking for.
![]()
With good naming conventions, quick search is a powerful way to get straight to the component you need. Search by the app or block name and drag-and-drop into your template directly from search.
3. Update plain text automagically
Create a great user experience for your customers, no matter how they interact with your email. Select the “Automatically update content from HTML” checkbox in the Plain Text preview, to generate the plain text version of a template as you go.
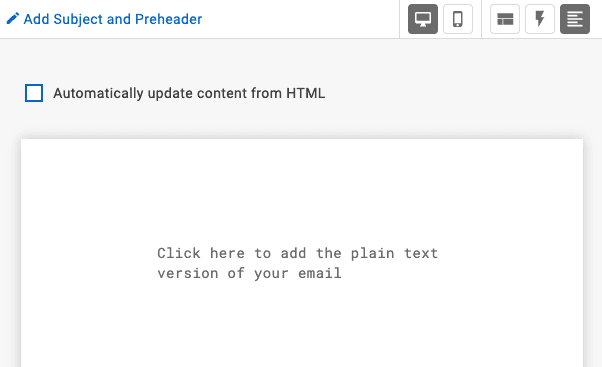
With this set-it-and-forget-it approach, plain text is one less step in the email process to worry about. A plain text version will update as you build out your HTML template, guaranteeing that your final email is accessible and enjoyable to all.
4. Commenting
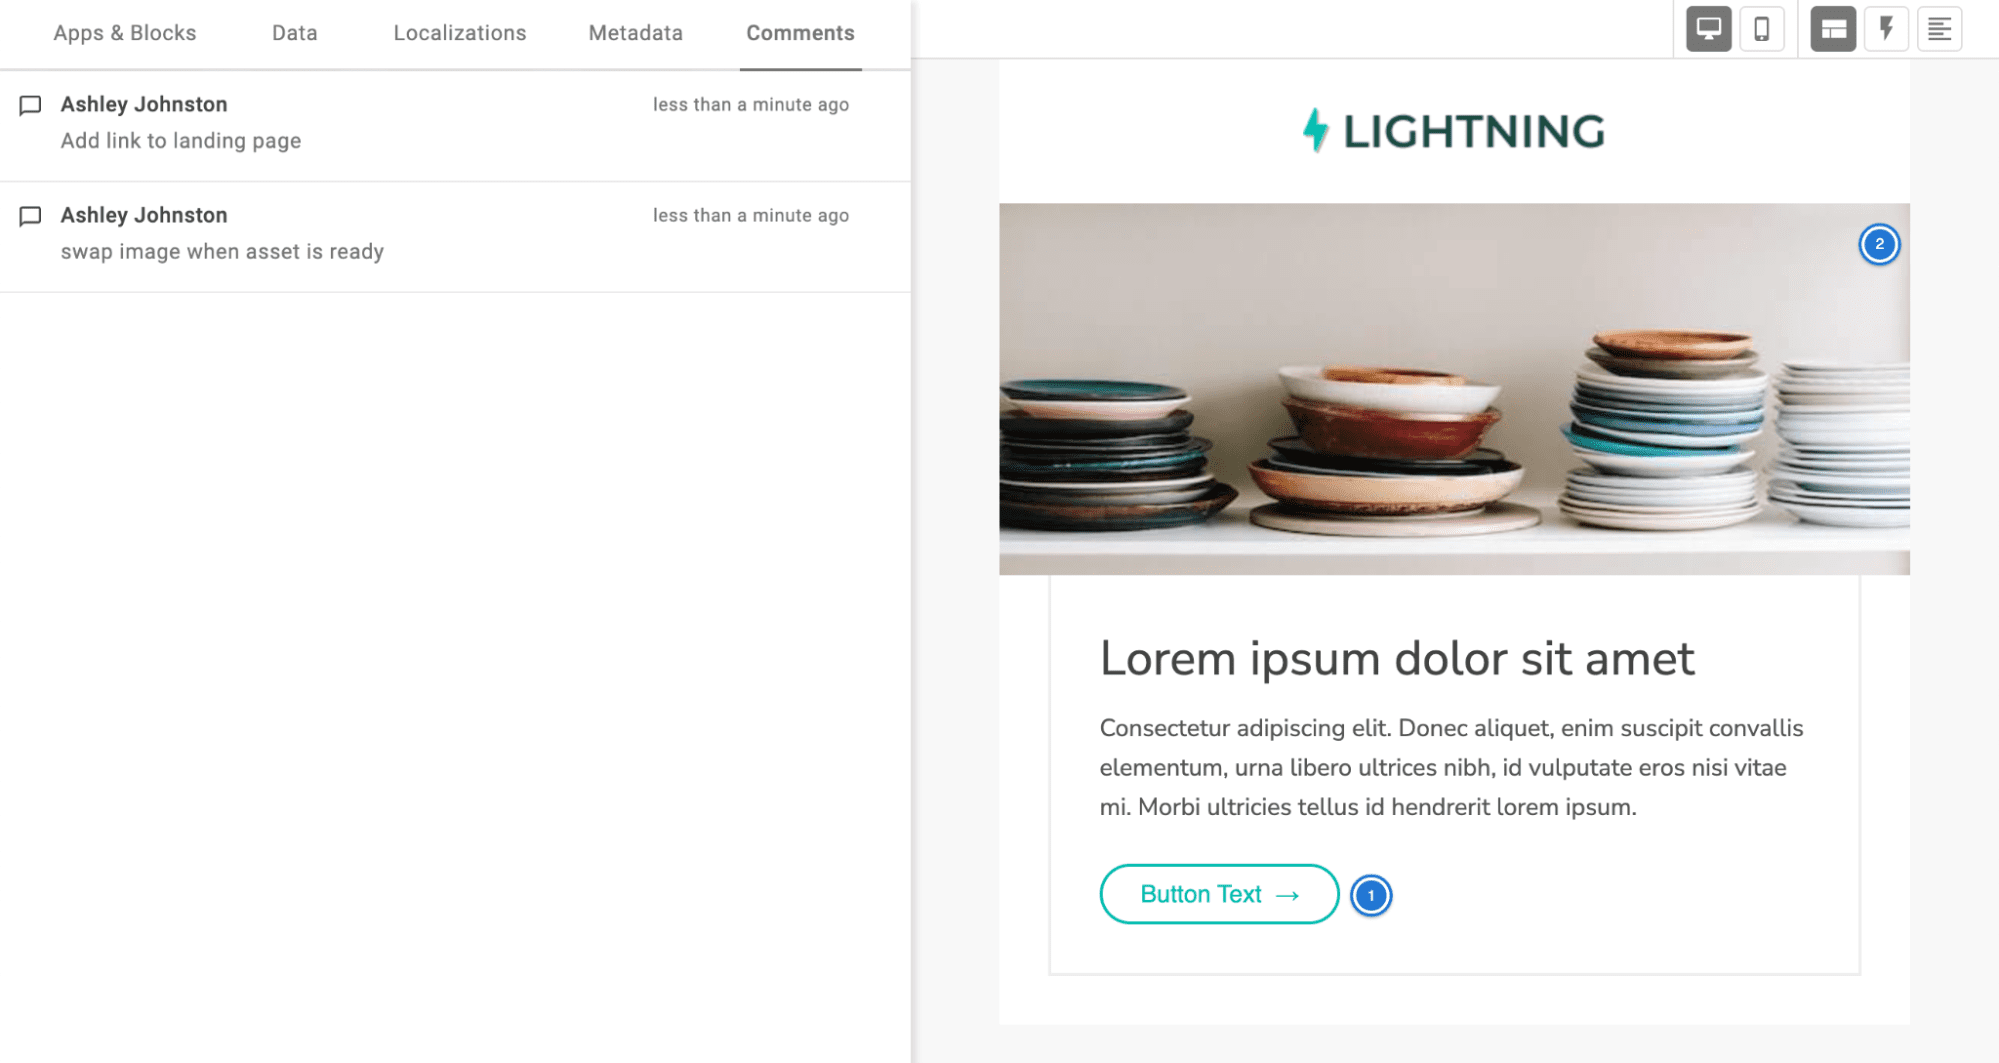
Comments aren’t just for the approval workflow — leave to-do notes as you’re building out a template, or collaborate with team members before a template is complete. Save the Google Docs clutter and redundancy; create and edit email copy directly in Dyspatch.
You can navigate to the comments tab at any point in the workflow, and all team members that have access to that workspace can add a comment.
5. Quick block editing
Need to make a quick update to a block? Org Admins can jump into the block editor from the visual editor to make changes as needed. In the block’s content panel, there’s an “Edit Block” link that will open up the block editor in a new browser tab.
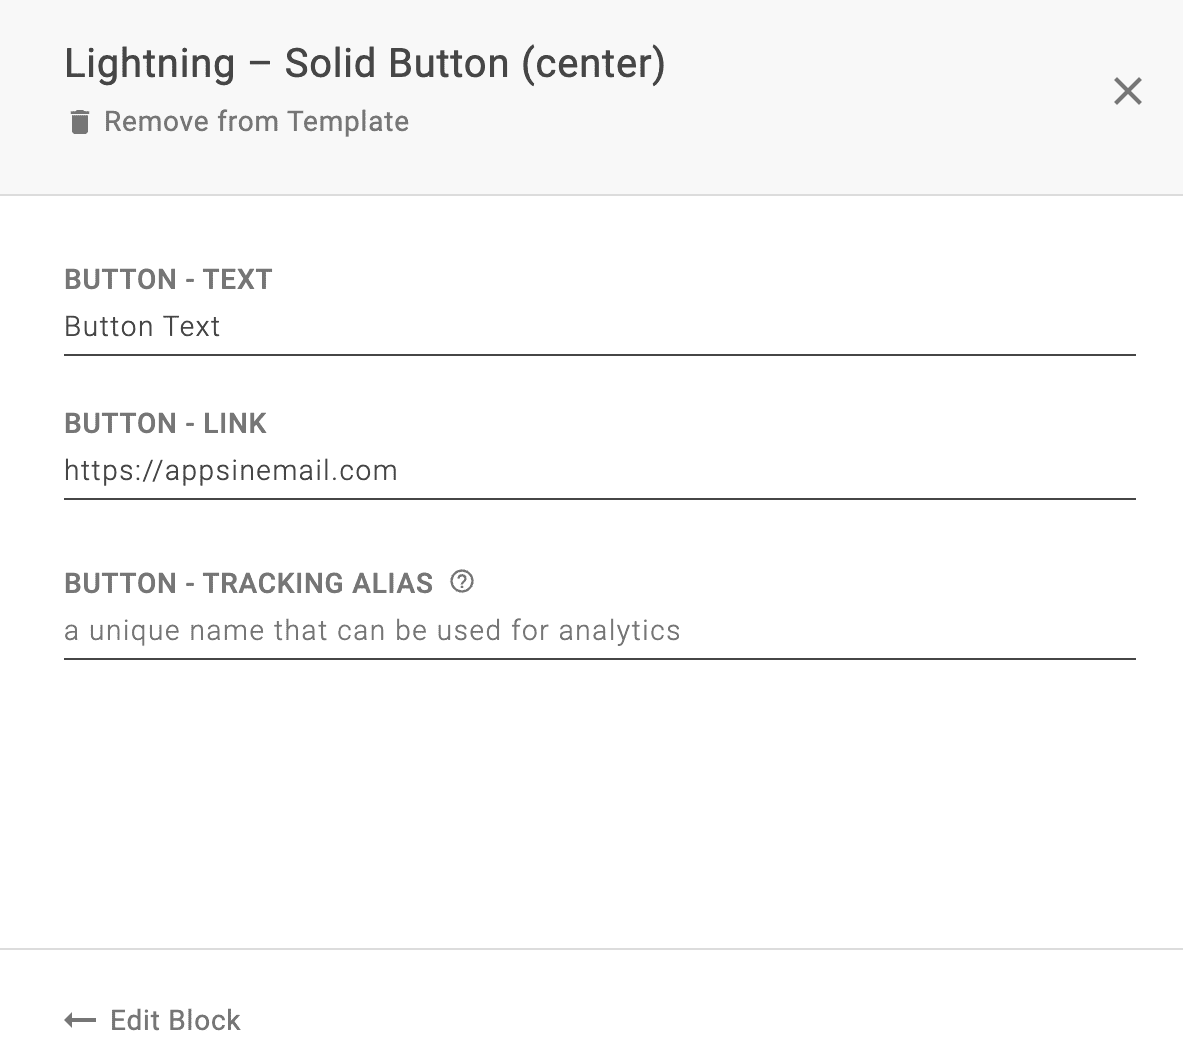
This way, you don’t lose progress on the template, and you can work on the block and template in tandem. Don’t forget to bulk update the block! After making changes to a block, simply re-add it to your template in progress.
Become a Dyspatch power user
Follow these tips and tricks, and you’ll be well on your way to becoming a Dyspatch power user!
To recap, using consistent naming conventions will make it easy to find blocks with the search function. This may not seem important if you’re just starting out in Dyspatch, but it becomes very important down the line. We have customers with thousands of blocks who follow strict naming conventions for this exact reason.
Don’t forget to check your plain text email experience, too. There are no excuses. Dyspatch makes it simple. All you have to do is check off one little box, and voilà, your emails are inclusive for every customer.
Last but not least, take a moment to pin key blocks. By pinning these blocks, they’ll appear across all templates, regardless of who’s in the creator seat. This saves everyone on your team time and energy.
Questions about any of these tips? As always, our #emailgeeks are available via chat or contact form.
