Overview
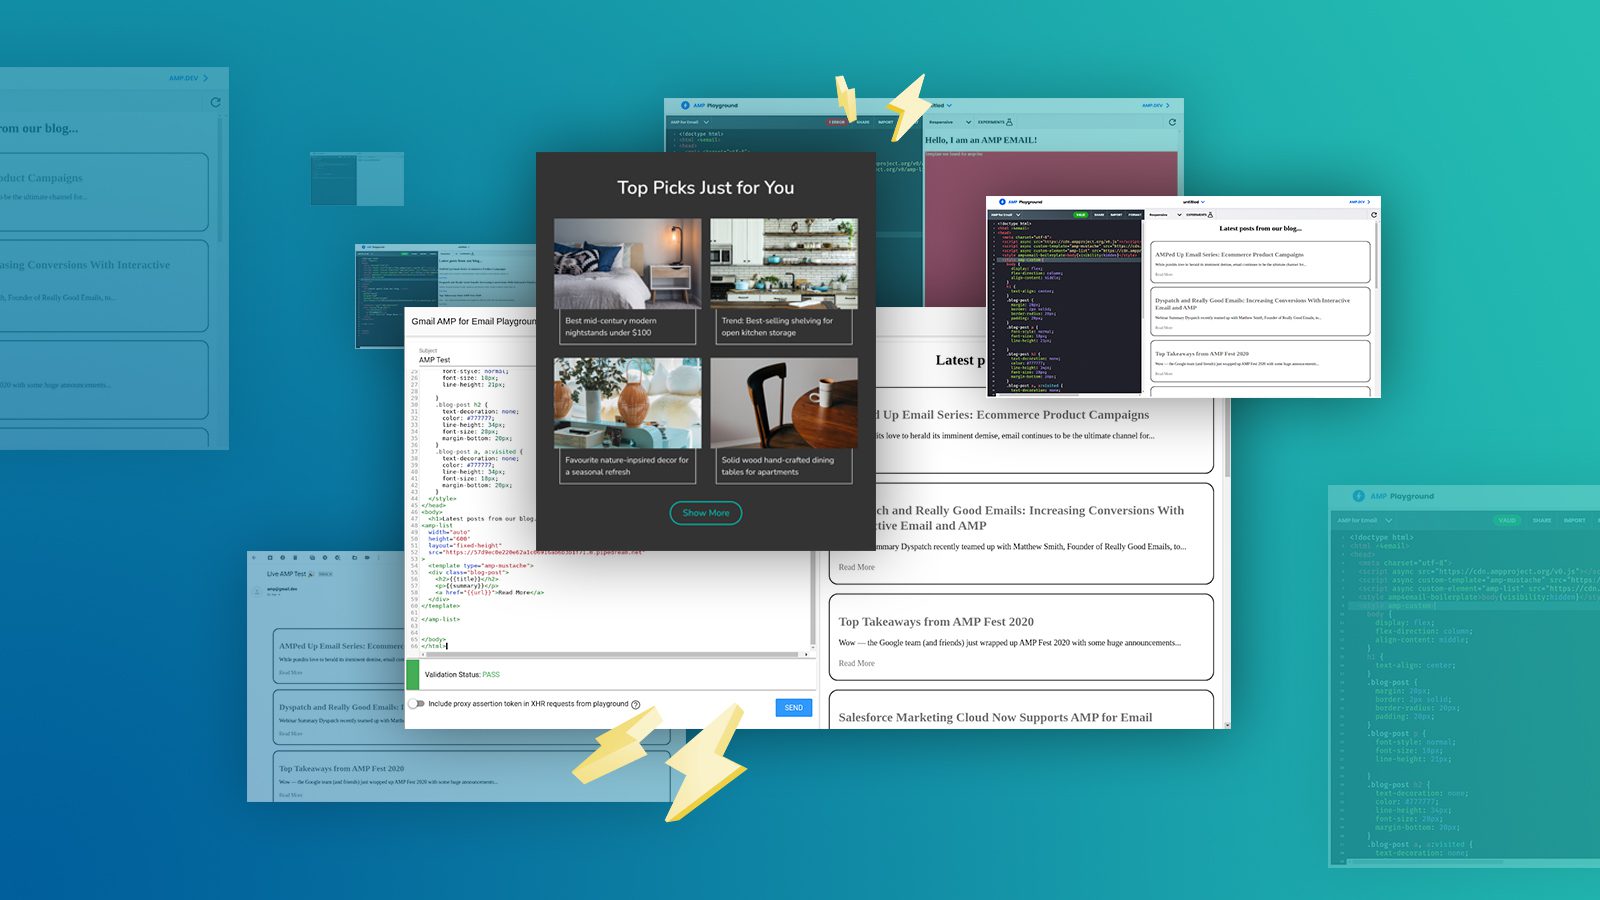
In this article, we’ll look at the basic tools you will need to create and test an AMP email. More specifically, we’ll take a look at how we can use AMP to create an email with a live data feed in it. For example, a “weekly updates” email for our blog subscribers that uses AMP to update itself with new articles that you post even after you send the email.
AMP is pretty cool. It changes the way businesses engage with their audience by allowing a whole new level of interactivity that goes beyond what is possible with traditional email. AMP is currently supported by gmail and a few other mail clients. Although this amounts to most users out there (gmail having the largest user base), not all providers will show an AMP version, which means that you will need to still create an HTML fallback version. But don’t be discouraged! You send both versions to all of your users. If a user opens the email using a client that supports AMP, they will see the AMP version. If their client doesn’t support AMP, they will see the HTML version. In this example, we will focus on how to make the AMP version, but it’s important to note that an HTML version is still required and should be held to a certain standard to prevent a bad user experience.
Below I describe in detail each step for creating the AMP email version. Follow this guide and you’ll be well on your way to fully functioning AMP emails.
- Setup AMP boilerplate
- Add an “amp-list” tag
- Define our list data source
- Define how the list items will look
- Add a little style
- Send a live test to our inbox
Send yourself a sample AMP email:
Poll in Email
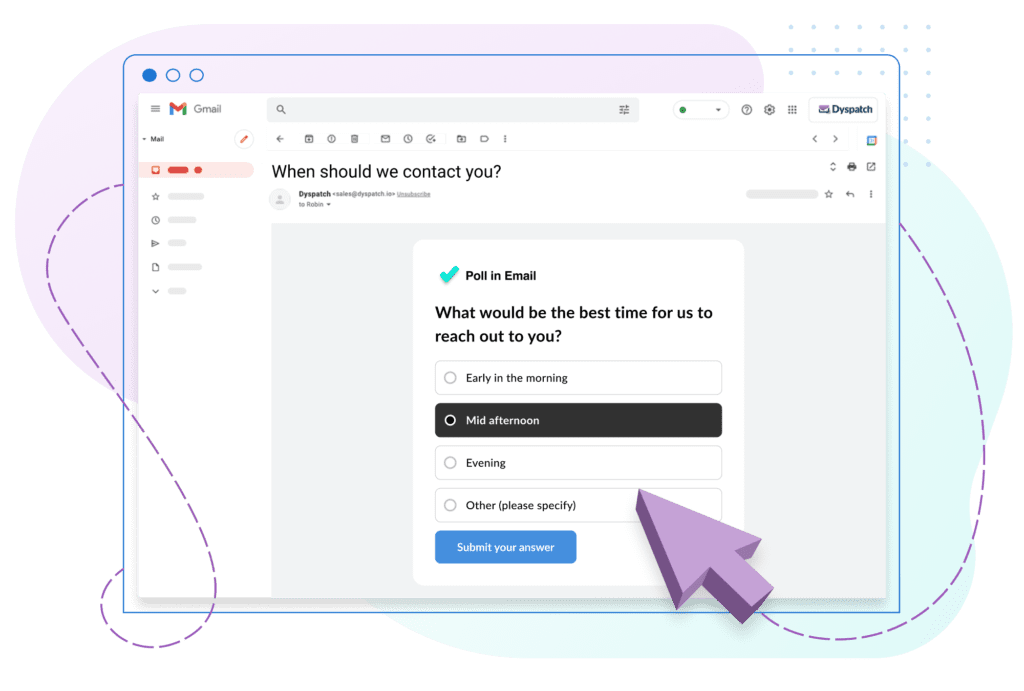
Increase response rates and serve up engaging inbox experiences with polls in email. Submit your email below to send yourself a sample AMP email.
Tools we will use
When developing AMP emails, there are two very useful tools that you can use: AMP Playground and Gmail AMP for Email Playground. AMP Playground is what you’ll want to use first. It’s basically an AMP email editor which will let you know if you make any mistakes. It will also give you a live preview of what your AMP email will look like while you work on it.
Once you’ve finished writing a rough draft using the AMP Playground, you’ll want to test it. That’s when the Gmail AMP for Email Playground comes in handy. It lets you send an AMP email to yourself so you can see what it really looks like in your inbox.
Step 1: Setup AMP boilerplate
Open the AMP Playground in your browser. You should see something like this:
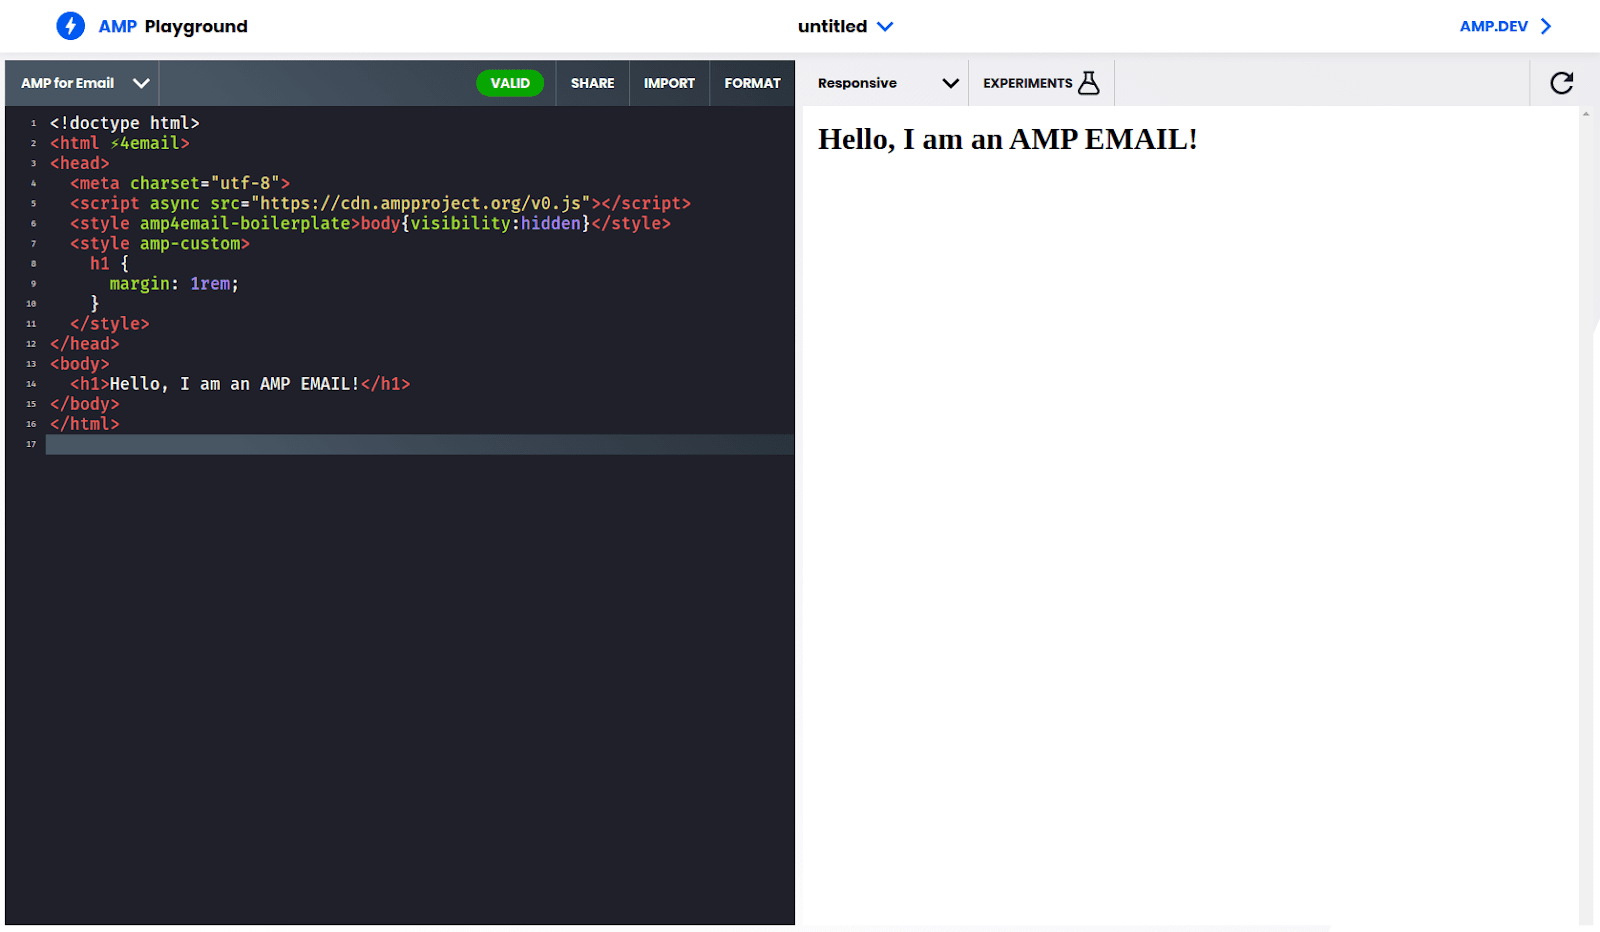
The AMP Playground starts you off with the minimal boilerplate you need for any AMP email. Notice the green “VALID” pill near the top of the page? While you are developing your AMP email, pay attention to this. It will turn red if you make any mistakes that make your AMP email code invalid. If this happens, you can click on it to see an explanation of the errors. It’s important to ensure that you have no errors, otherwise your AMP version will not display when you send it.
Step 2: Add an amp-list tag
Alright, let’s start writing an AMP email. The first thing that we want to do is add a “dynamic list”. We can do that using the amp-list tag. Let’s add one. Add the following content to your email underneath the h1 header tag:
When you do this, the AMP Playground will add a script to your emailcontent. Notice the new script that has the attribute “custom-element” set to “amp-list”? The AMP Playground added it for you because it saw that you are using an `amp-list` tag.
Why does it do this? Every type of AMP tag has a corresponding script that you need to include. So when you want to use a particular AMP tag, make sure you have the script that adds support for it in the head of the email. The AMP Playground does this for you automatically, but if you edit your email somewhere else you’ll have to remember to do this yourself.
Your AMP email should now look like this
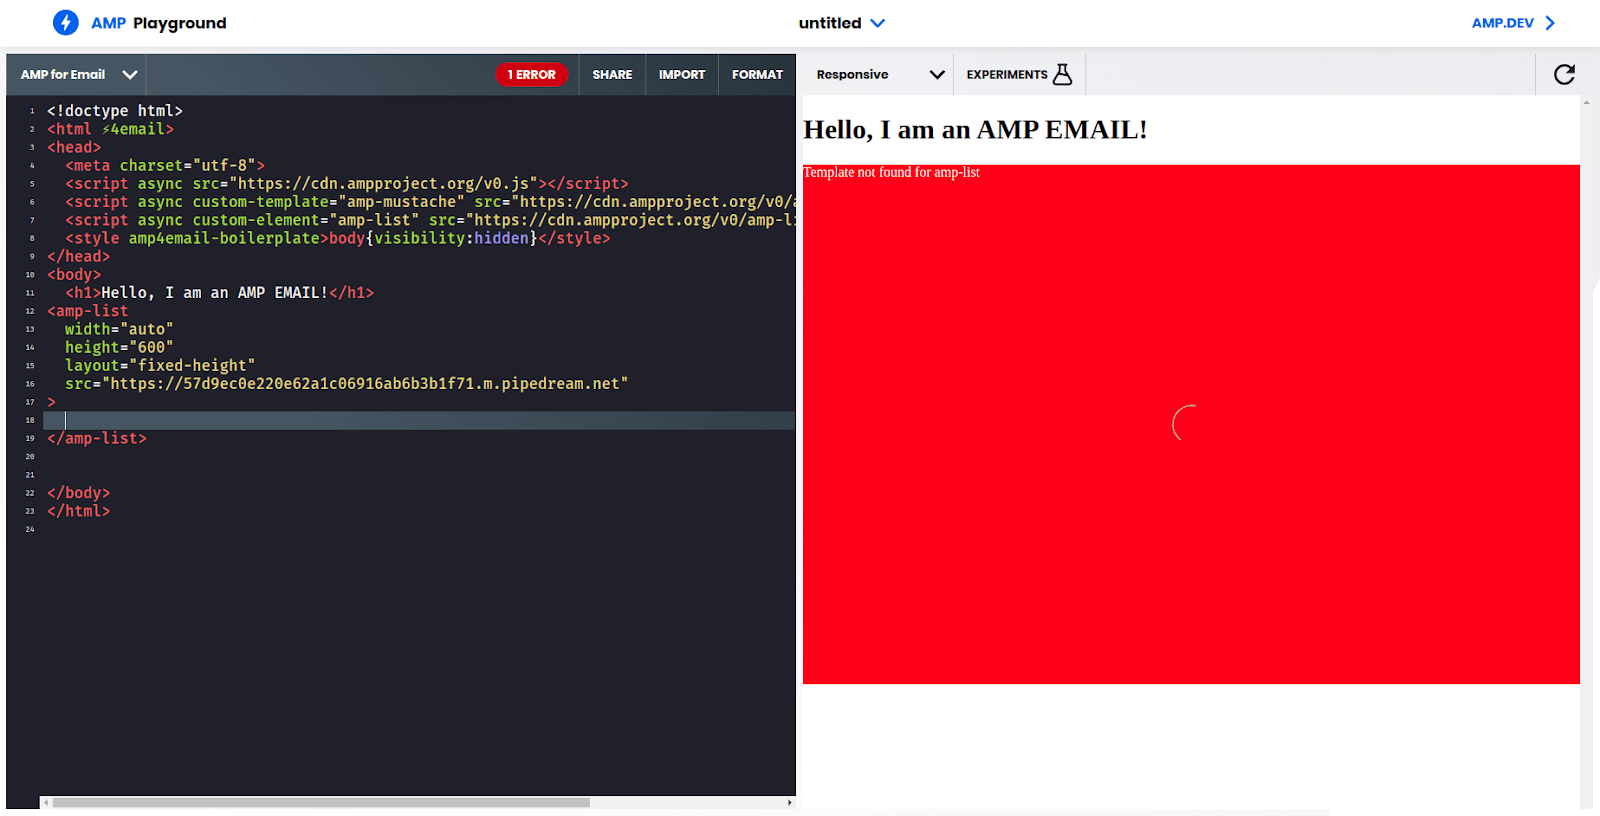
Oof, that red isn’t great, but we’ll get to that later. For now, let’s dissect what we have so far. Notice the “width”, “height” and “layout” attributes. These are required and AMP won’t let you use a list without them. In fact, most AMP tags have this requirement. That’s because AMP wants to know how to layout your email. This is a bit strange if you’re used to “regular” HTML, where you don’t have to set these attributes and your browser will just figure things out.
AMP requires you to specify the sizes of most elements up front. That’s because AMP is designed to be performant and ensure that your email layout is consistent and doesn’t jump around when your data loads or changes. This puts the onus on you to think ahead about what size things should be. The benefit of this is that your email will load faster and will be more usable. You can read more about layout in AMP for Email here.
Step 3: Define our list data source
The next thing to notice about the `` tag is the `src` attribute. This tells the `amp-list` where the data it needs will come from. This URL can point to either a JSON file that is hosted online or to an API server. Currently it has the value “https://57d9ec0e220e62a1c06916ab6b3b1f71.m.pipedream.net.” This URL points to a mock API that has been setup for this example. About that -- if you want to make your own, there are two really important things to know:
1 Secure the URL with CORS
For security reasons, the “src” URL needs to include some HTTP headers called CORS headers. This is really important because it means you can’t use just any API. Most APIs won’t be set up to set the security headers that AMP expects. You can read more about what those headers are and how they work here.
2 Return an “items” list
The `amp-list` component expects the JSON to be formatted in a specific way. It needs to be a JSON object with a top level field called “items” that is a list, like the following:
You can put any valid JSON data in this list. It could be just a simple list of text or it could be a list of objects. The important part is naming that first part “items” so that the `amp-list` component can find the list of things you want. You can read more about that here, including how to change the name of “items” if you need to.
Step 4: Define how the list items will look
Okay, so we’ve gone over this new “amp-list” tag, but it’s not doing anything yet. We still have a big red box. We still need to add some more AMP to make things work. Specifically, we need to describe what each list item should look like. It’s kinda like we just wrote a `ul` or `ol` tag in HTML and we need to add some `li` tags for the things that go inside. But it’s a bit trickier for the `amp-list` than it is for an HTML list.
To get started, add the following AMP code into your list (in between the `amp-list` tags):
After doing that, you should now see something like this:
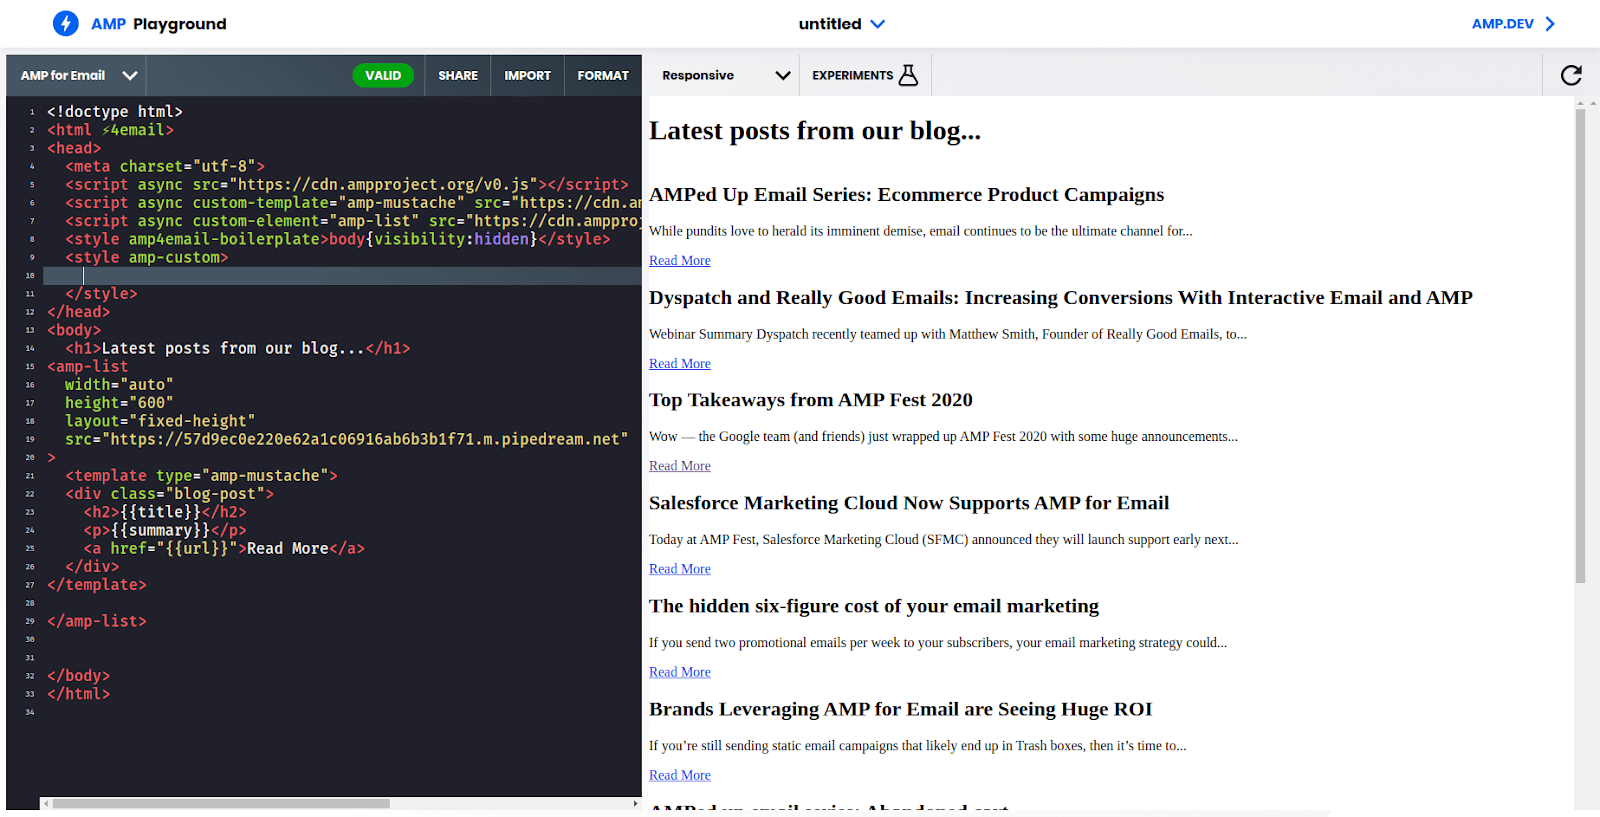
Cool! The big red box is gone and we see a list of links. What’s going on here?
First of all, we used a new AMP tag called `template`. You have to put this tag around all the markup for the items in your list. When you do this, AMP will make copies of everything in the `template` tag for each item in your list. But that wouldn’t be very useful if that’s all it did because you would just see the same content repeated over and over again.
The other important thing to notice is the presence of `{{something}}` scattered around inside the markup. These are variables that get replaced by each item in the list. It’s pretty much the same concept as “merge variables” or “merge tags” which you may already be familiar with from email templating systems in services such as SparkPost or MailChimp. They are like sticky notes saying “replace me with data.” This data comes from the “src” URL that we set up earlier.
This is what the list data JSON from the “src” URL looks like:
Notice the relationship between the data and the markup that we added? Specifically this part:
The variables in the markup here are data points like `{{title}}`, `{{summary}}` and `{{url}}` that line up with “title”, “summary” and “url” in the “items” JSON.
Step 5: Add a little style
Right now things look a bit plain. Styling AMP emails is very similar to styling HTML emails. You can write mostly the same CSS that works in a web page, with a few exceptions. It’s actually a little easier to write CSS for an AMP email than it is for a regular HTML email because AMP CSS support isn’t full of quirks from older, legacy email clients. Just like a web page, you can use inline styles and you can put styles in a `style` tag in the `head` tag at the top. There is one slight difference though. You can only add one style tag at the top of your email and it has to have the ‘amp-custom’ attribute on it.
Let’s make this example look a little better by adding some styles. Add the following into the `style amp-custom` tag at the top in the head of the email:
You should now have something that looks like this:
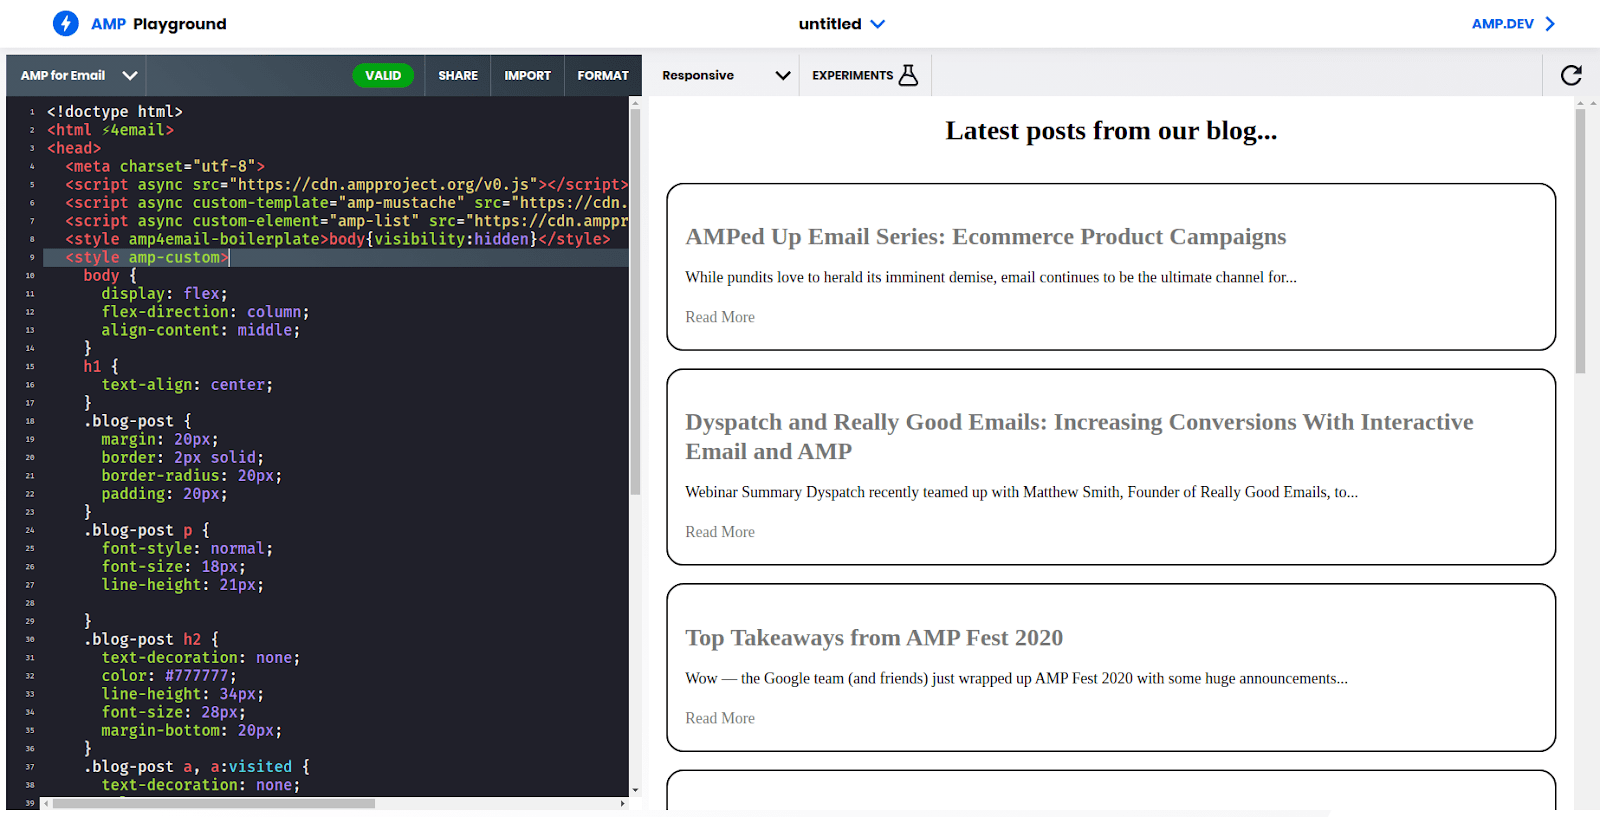
Okay, definitely not an example of peak design. But hey, it works!
Step 6: Send a live test to our inbox
Almost done! This is looking good, but the AMP Playground just simulates how AMP works. It’s not perfect and it might appear a little differently from the live version. So before you can call this done, you need to use the Gmail AMP for Email Playground to send yourself a test. Let’s do that now.
Open the Gmail AMP for Email Playground in a new tab/window. It looks a lot like the AMP Playground. Copy all the AMP code you just wrote in the AMP Playground and paste it into the Gmail AMP for Email Playground. It should still say “Validation Status: PASS” at the bottom and you should see the same preview on the right that you saw in the AMP Playground.
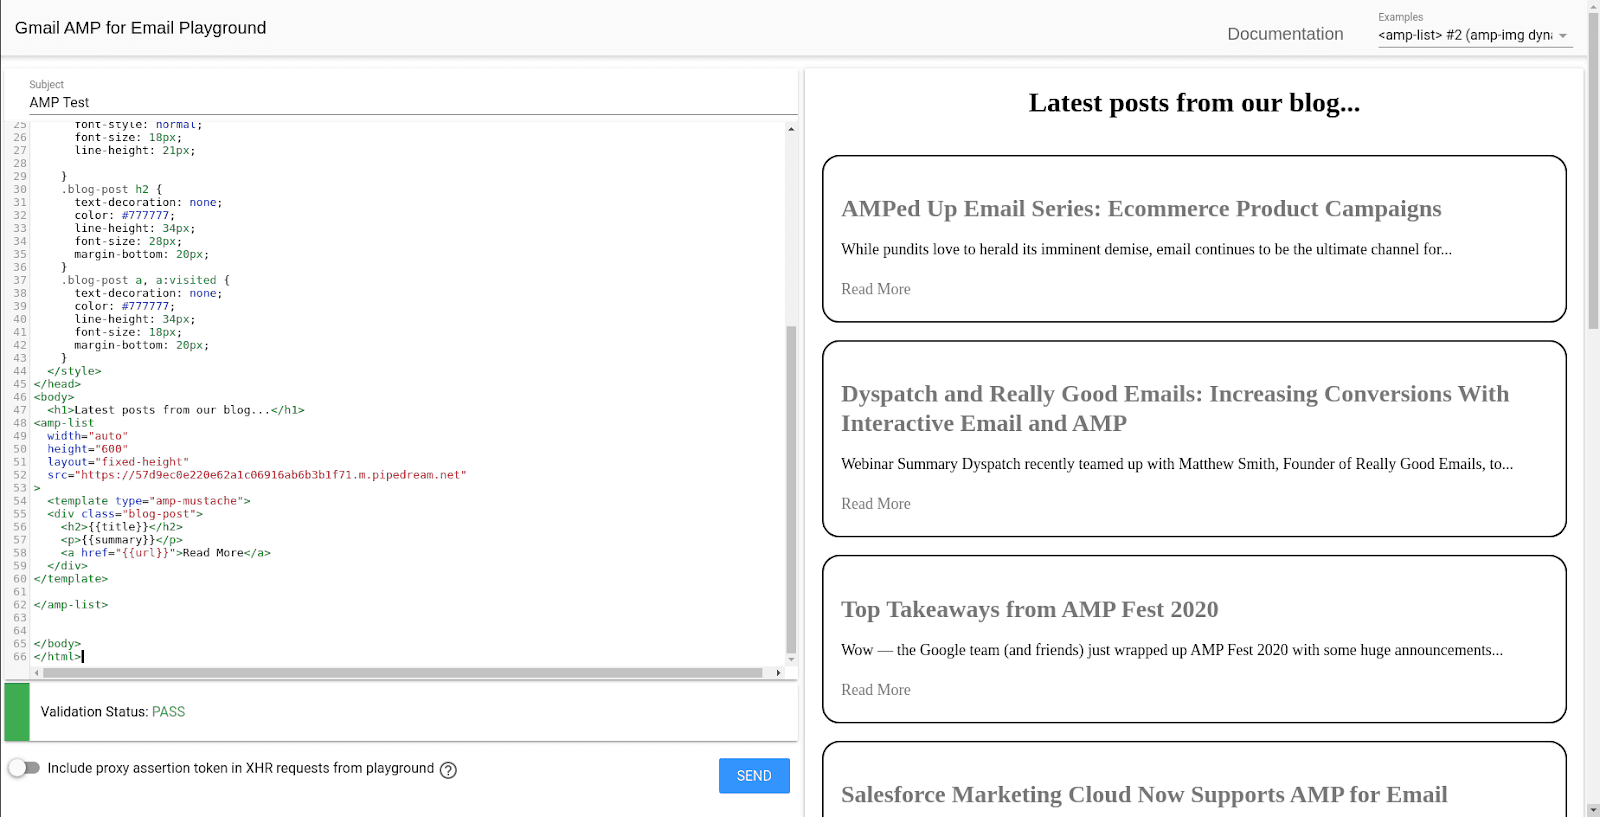
Next, click the “SEND” button at the bottom and open your Gmail inbox. You should see your preview email. The first time you do this, you might see a message telling you to enable dynamic emails in your Gmail settings. Follow the steps to turn that on in your settings and re-open the email. You should see the AMP content now and it should look like this:
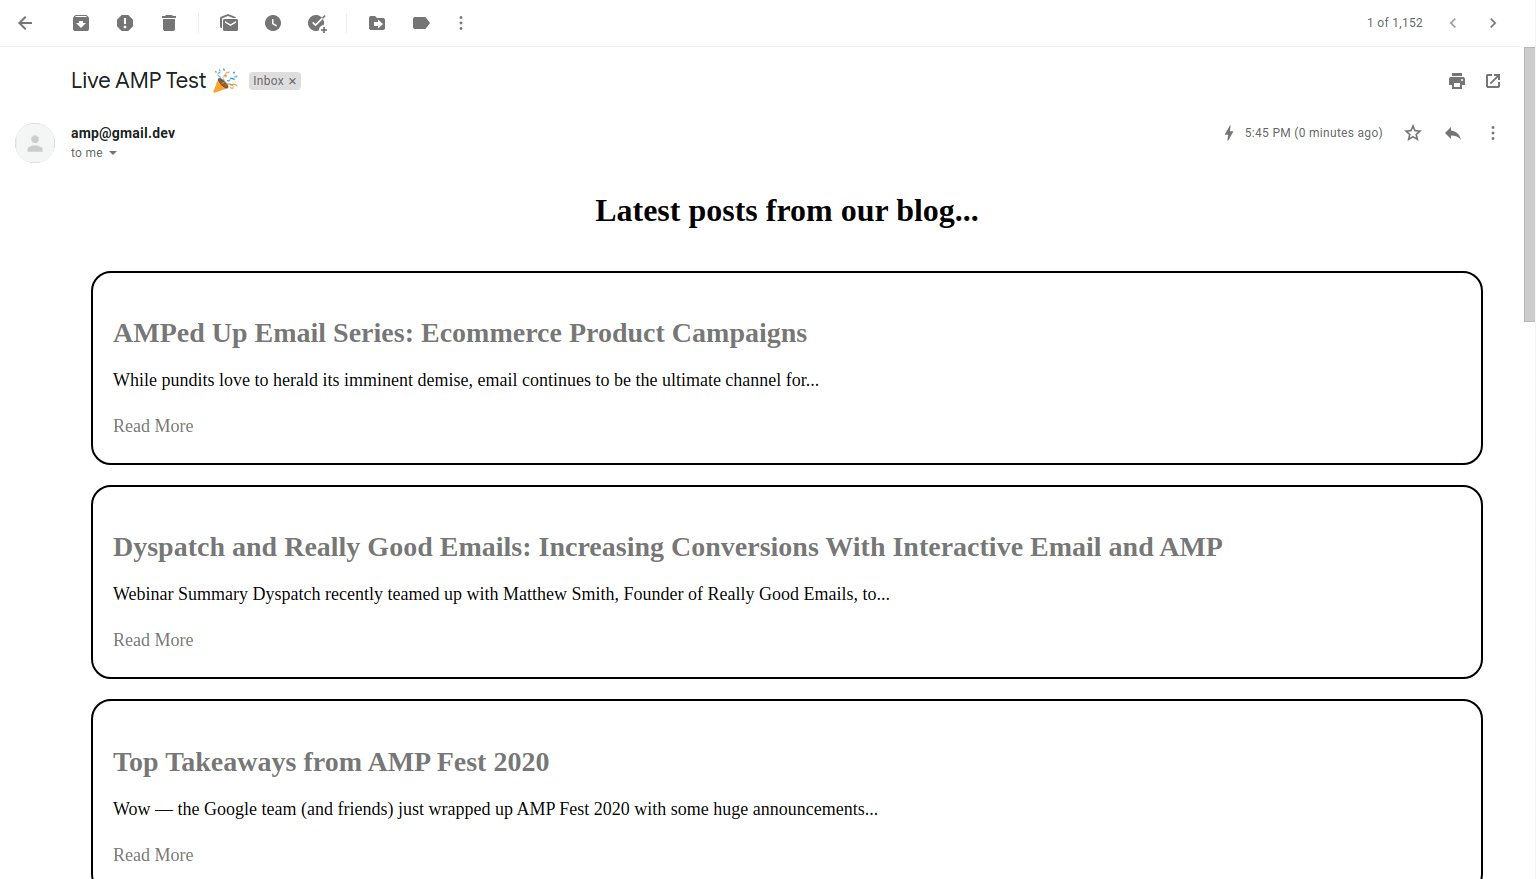
Voila! Those are the basics of how to create and test a live data feed in an email using the list component of AMP for Email. Next you may want to explore the AMP for Email Documentation to learn some more about other AMP features. Once you’ve got the hang of things, you will need to register for sender distribution before you can start sending AMP to other people.
Hopefully this article makes it a bit easier to start building AMP emails, but it is by no means an easy task. Our email production platform, Dyspatch, helps to make building AMP emails even easier with pre-coded interactive email apps. If you want to give it a try, just sign up for the free trial and you’ll get access to all the features in the product, including our AMP starter theme that comes loaded with pre-coded AMP blocks.
